Network printer as a local port
- 0 Comments
- October 31, 2016
- by admin
- Technical Instruction
- Leave a comment
Here is some useful information on installing a network printer on a vista or windows 7 computer from xp, this also works if you are trying to connect to 32 bit version of windows from 64 bit and visa versa. The reason for using this method is so you can use a downloaded driver which may be customized rather than using the driver installed on the host computer. Using this method will also allow for the traditional prompt for driver by selecting the manufacturer and model.
Here are the steps:
1. open the start menu and click "Control Panel"
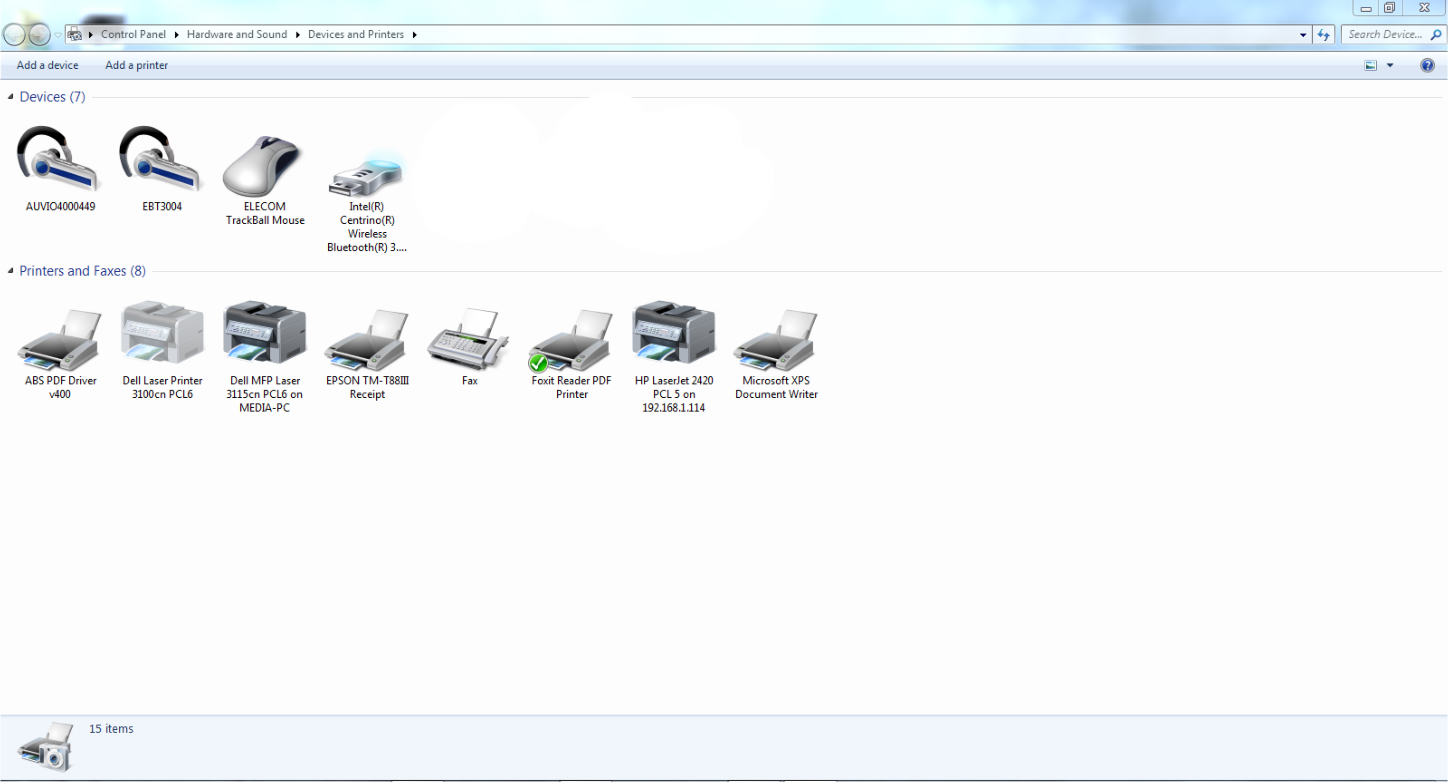
2. click "Hardware and Sound"
3. click "Devices and Printers"
4. click "Add a Printer"
5. click " Add a Local Printer"
6. click "Create a New Port"
7. choose "Local Port" from the drop down list and click "Next"
8. type "\\computername\printersharename" in the pop up box, replace computername with the host computer name or ip address and replace printersharename with the printer share name. i.e. abcprinter and click "Ok"
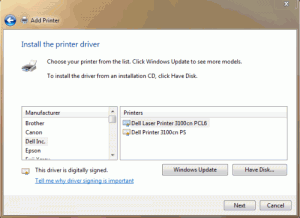
9. if applicable select the printer manufacturer from the list and then select the model otherwise click "Have Disk" and choose the directory where you have the driver stored and click "Ok". Your printer should now install and once completed print a test page and Get to Work! ;-)
Stay Tuned for More Tips
Mike
0 Comments